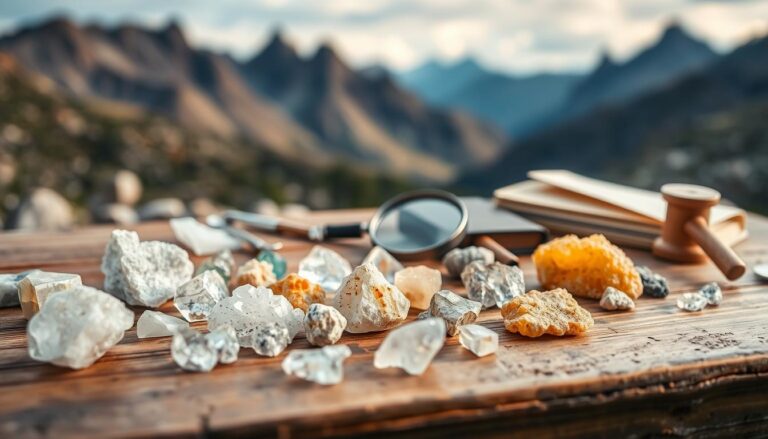
How To Identify Minerals In The Field requires a systematic approach that combines visual observation, simple tests, and basic geological knowledge. Whether you’re a rockhound, geology student, or curious explorer, learning to identify minerals on-site opens up a fascinating world of discovery beneath your feet.
Field mineral identification differs from laboratory analysis because you’re working with limited tools and natural lighting conditions. The key lies in understanding which properties you can reliably test in the field and developing a logical sequence for examining specimens.
TL;DR
- Start with hardness testing using the Mohs scale – a steel nail (5.5) and glass plate (5.5) can identify most common minerals.
- Crystal form and habit provide instant clues – quartz forms hexagonal crystals while pyrite creates perfect cubes.
- Streak color on unglazed ceramic reveals true mineral color – hematite appears metallic black but streaks red.
- Specific gravity can be estimated by hefting – galena feels much heavier than expected for its size due to lead content.
How To Identify Minerals In The Field
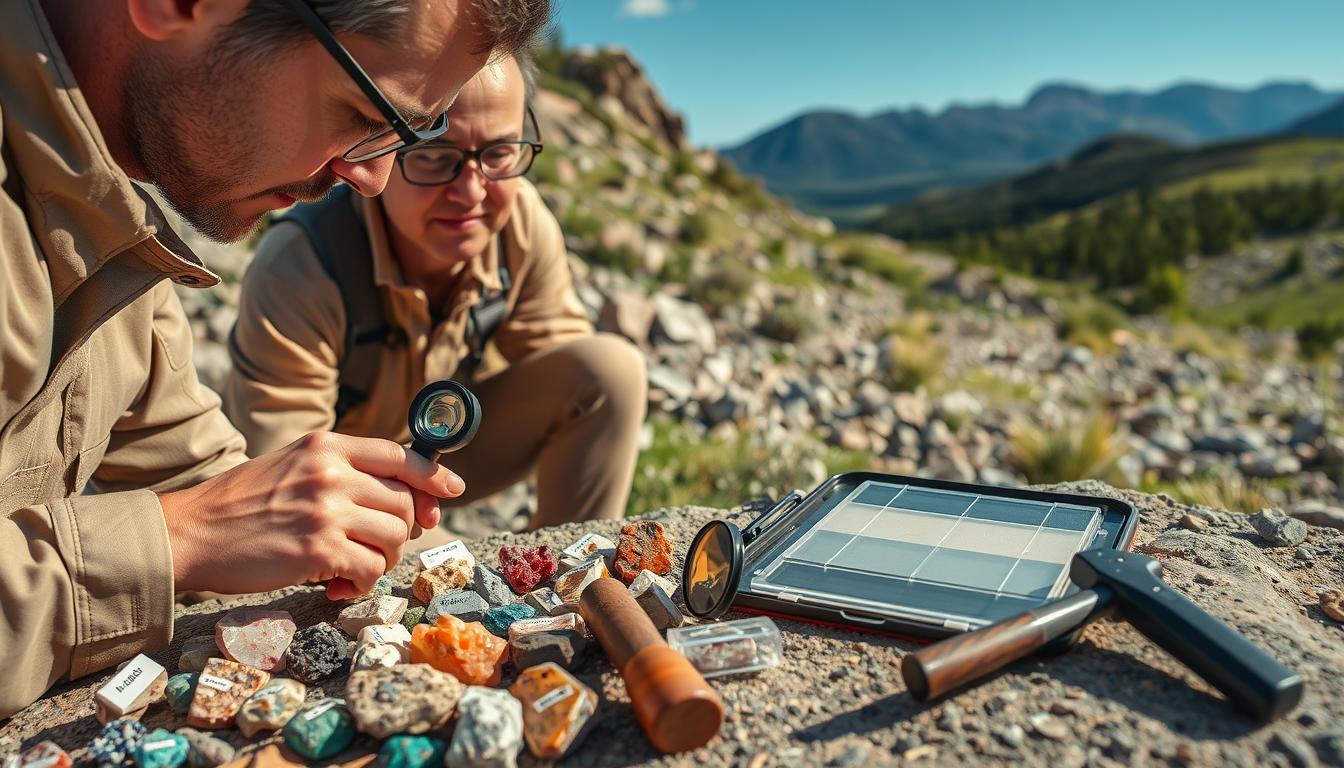
Field mineral identification follows a systematic process that narrows down possibilities through observable properties. Start with what you can see immediately, then move to simple tests that don’t damage valuable specimens.
The most effective field approach examines properties in this order: crystal form, color, luster, hardness, and streak. This sequence moves from non-destructive observations to tests that require small samples or create minor marks on the specimen.
Essential Field Testing Kit
A basic mineral identification kit fits easily in a backpack and covers most field testing needs. These essential tools allow you to perform the fundamental tests that distinguish between mineral groups.
- Steel nail or knife blade – Tests hardness around 5.5 on the Mohs scale
- Glass plate or hand lens – Hardness reference point at 5.5
- Copper penny – Hardness 3.5 for softer minerals
- Unglazed ceramic tile – Creates streak tests for true color
- Small magnet – Identifies magnetic minerals like magnetite
- Dilute hydrochloric acid – Tests for carbonate minerals (use with caution)
- Hand lens (10x) – Examines crystal faces and texture details
Crystal Form and Habit Recognition
Crystal form provides the most reliable first clue for mineral identification because it reflects the internal atomic structure. Well-formed crystals display characteristic shapes that immediately narrow your identification options.
Common Crystal Systems
Six crystal systems encompass all mineral forms, each with distinctive geometric properties. Learning to recognize these basic shapes accelerates field identification significantly.
- Cubic – Square faces and equal dimensions like pyrite and galena
- Hexagonal – Six-sided prisms typical of quartz and beryl
- Orthorhombic – Three unequal perpendicular axes seen in olivine
- Tetragonal – Square cross-sections with different vertical dimensions
- Triclinic – No perpendicular faces, found in plagioclase feldspars
- Monoclinic – One oblique angle, common in hornblende and gypsum
Mineral Habit Variations
Habit describes how crystals grow together or appear when perfect crystal faces aren’t visible. These growth patterns often provide more practical field identification clues than ideal crystal forms.
- Massive – No visible crystal faces, solid chunks
- Granular – Composed of small interlocking grains
- Fibrous – Long thin crystals like asbestos minerals
- Platy – Flat sheet-like crystals such as mica
- Dendritic – Tree-like branching patterns
Crystal Face Identification Tip
Look for flat, shiny surfaces that reflect light uniformly – these are true crystal faces. Natural crystal faces appear much flatter and more reflective than broken surfaces.
Color and Luster Assessment
Color attracts initial attention but can mislead identification due to impurities and weathering. Luster – how light reflects from the mineral surface – provides more reliable identification clues than color alone.
Luster Categories
Mineral luster falls into two main categories with several subcategories that help distinguish between similar-looking specimens. Metallic luster appears on fresh, unweathered surfaces of ore minerals.
- Metallic – Mirror-like reflection found in pyrite, galena, and hematite
- Vitreous – Glass-like shine typical of quartz and feldspar
- Pearly – Pearl-like iridescence seen in muscovite mica
- Silky – Fiber-like reflection in asbestos and gypsum
- Greasy – Oily appearance common in nepheline and quartz varieties
- Dull – No shine, found in weathered surfaces and clay minerals
Color Reliability Issues
Mineral color varies dramatically due to trace impurities, making it an unreliable primary identification tool. Quartz appears in dozens of colors while maintaining identical physical properties and crystal structure.
Focus on color only after confirming other properties, and always test streak color on unglazed ceramic. Many minerals that appear different colors produce identical streak colors, revealing their true identity.
Hardness Testing Procedures
Hardness testing follows the Mohs scale from 1 (talc) to 10 (diamond) and provides definitive identification data. Understanding the difference between soft vs hard minerals helps you choose appropriate testing methods for most common minerals that fall between hardness 2 and 7.
Mohs Scale Field References
Standard field references allow accurate hardness determination without carrying multiple test materials. These everyday items provide reliable hardness checkpoints for most mineral identification needs.
- Fingernail (2.5) – Scratches talc, gypsum, and other very soft minerals
- Copper penny (3.5) – Tests the calcite hardness range
- Steel nail (5.5) – Distinguishes feldspars from harder quartz
- Glass plate (5.5) – Alternative steel reference point
- Steel file (6.5) – Tests harder minerals like pyroxene
Proper Hardness Testing Technique
Effective hardness testing requires fresh mineral surfaces and proper scratching technique. Always test on inconspicuous areas to preserve specimen value and appearance.
Draw the test material across the mineral surface with firm, steady pressure. A true scratch removes material and appears as a permanent groove, while false scratches consist of transferred material that wipes away.
Streak and Specific Gravity Tests
Streak testing reveals true mineral color by grinding a small amount onto unglazed ceramic. This simple test eliminates color confusion caused by surface weathering and impurities.
Streak Test Procedure
Drag the mineral specimen across unglazed ceramic with moderate pressure until powder appears. The resulting streak color often differs dramatically from the specimen’s apparent color and provides definitive identification clues.
Minerals harder than the ceramic plate (above 7 on Mohs scale) won’t produce streaks but can be identified by their inability to mark the plate. This negative result still provides valuable hardness information.
Specific Gravity Estimation
Specific gravity measures density relative to water and helps distinguish between similar-looking minerals. While precise measurement requires laboratory equipment, field estimation through “hefting” provides useful identification clues.
Compare specimens of similar size by lifting them in your hands. Metallic minerals like galena feel surprisingly heavy, while minerals like quartz feel lighter than expected for their size.
Special Field Tests
Certain minerals respond to specific tests that provide instant identification confirmation. These specialized tests work only on particular mineral groups but offer definitive results when applicable.
Magnetic Testing
A small magnet identifies magnetic minerals immediately and distinguishes between similar black metallic specimens. Magnetite attracts magnets strongly, while pyrrhotite shows weak magnetic attraction.
Test magnetism on multiple spots since some minerals contain magnetic and non-magnetic portions. Hematite occasionally shows weak magnetism due to magnetite inclusions but typically remains non-magnetic.
Acid Reaction Tests
Dilute hydrochloric acid (10% solution) makes carbonate minerals fizz vigorously, providing instant identification of calcite, dolomite, and related minerals. Always wear safety glasses and work in ventilated areas when using acid.
Place one small drop of acid on a fresh mineral surface and watch for bubbling. Strong fizzing indicates calcite, while weak reactions suggest dolomite or other carbonate minerals.
Frequently Asked Questions
What’s the most important property for field mineral identification?
Crystal form and habit provide the most reliable first identification clue because they reflect the mineral’s internal structure. Start with crystal shape before moving to other properties.
Can I identify minerals without expensive equipment?
Yes, basic tools like a steel nail, glass plate, ceramic tile, and small magnet allow identification of most common minerals. A complete field kit costs under $20.
Why do some minerals appear different colors than their streak?
Surface weathering, impurities, and crystal defects alter apparent color while streak reveals the true mineral color. Hematite appears black but streaks red due to its iron oxide composition.
How accurate is field identification compared to laboratory analysis?
Experienced field identification achieves 80-90% accuracy for common minerals using systematic testing procedures. Laboratory analysis confirms identification and reveals trace elements invisible to field testing.
What should I do if a mineral doesn’t match standard identification guides?
Document all observed properties, take clear photographs, and note the exact location. Unusual specimens may represent rare minerals, crystal varieties, or require specialized laboratory analysis for proper identification.
Final Thoughts
How To Identify Minerals In The Field becomes easier with practice and systematic observation techniques. Start by learning to identify common minerals found while rockhounding to build confidence before tackling more challenging specimens, and remember to distinguish between similar-looking minerals using the systematic testing approach outlined above.
Remember that field identification provides preliminary results that laboratory analysis can confirm and refine. Focus on learning the most reliable field properties and always document your findings for future reference.