How To Identify Crystals In The Field requires a combination of basic geological knowledge and hands-on observation skills that any rockhound can develop. Whether you’re exploring a known mineral site or stumbling across interesting formations during a hike, the ability to recognize crystals in their natural environment opens up a world of discovery.
Field identification differs significantly from examining polished specimens in a shop or museum. Raw crystals often appear covered in matrix rock, weathered surfaces, or competing minerals that can mask their true identity.
TL;DR
- Crystal habit (shape) provides the strongest identification clue – quartz forms hexagonal prisms while pyrite creates cubic crystals.
- Hardness testing with a steel knife (5.5 hardness) separates soft minerals like calcite from hard ones like feldspar.
- Streak color from scratching on unglazed ceramic often differs from crystal color and stays consistent across specimens.
- Specific gravity testing using water displacement helps distinguish heavy minerals like galena from lighter look-alikes.
How To Identify Crystals In The Field
The first step involves developing your observational skills before touching any specimen. Look at the overall crystal habit, which refers to the characteristic shape and form that a mineral takes when it crystallizes freely.
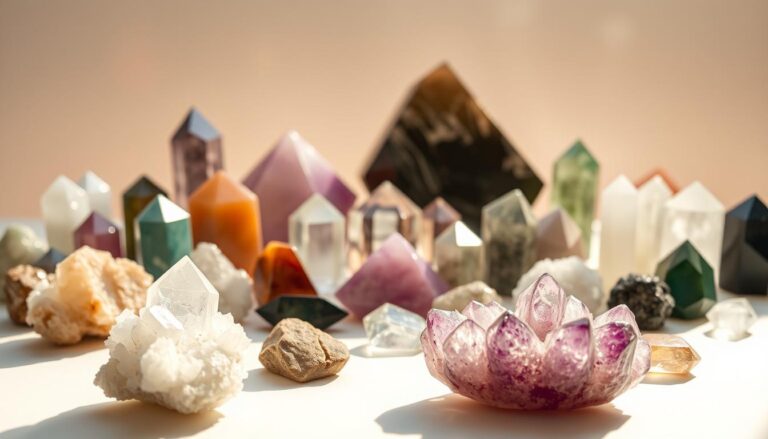
Common crystal habits include prismatic (elongated like quartz), cubic (square-shaped like pyrite), tabular (flat like mica), and massive (no distinct crystal faces). Each mineral family tends to follow predictable patterns that become easier to recognize with practice, similar to the different crystal shapes collectors find in their collections.
Essential Field Tools
Pack these basic identification tools in a small kit you can carry anywhere:
- Hand lens (10x magnification) – reveals surface textures and tiny crystal faces invisible to the naked eye.
- Steel knife or nail – tests hardness around 5.5 on the Mohs scale.
- Streak plate or rough ceramic – shows true mineral color when scratched.
- Small magnet – detects iron-bearing minerals like magnetite.
- Dilute hydrochloric acid – identifies carbonates through fizzing reactions (use safely with gloves).
Physical Property Testing
Hardness testing provides one of the most reliable identification methods in the field. Use your fingernail (hardness 2.5), a copper penny (3.5), or a steel knife (5.5) to scratch the crystal surface systematically.
Always scratch in an inconspicuous area and clean the surface first to ensure you’re testing the actual mineral rather than surface coatings. Remember that hardness can vary slightly within the same specimen due to weathering or impurities.
Color and Streak Analysis
Crystal color often misleads beginners because the same mineral can appear in multiple colors due to trace elements or inclusions. Quartz ranges from clear to purple, yellow, pink, or black depending on these factors.
Streak testing reveals the true color of a mineral’s powder when scratched on unglazed ceramic. This property remains consistent regardless of the crystal’s apparent color and provides a more reliable identification marker.
Luster and Transparency
Examine how light interacts with the crystal surface to determine luster type. Metallic luster appears shiny like metal, while non-metallic includes glassy (vitreous), dull (earthy), greasy, or pearly appearances.
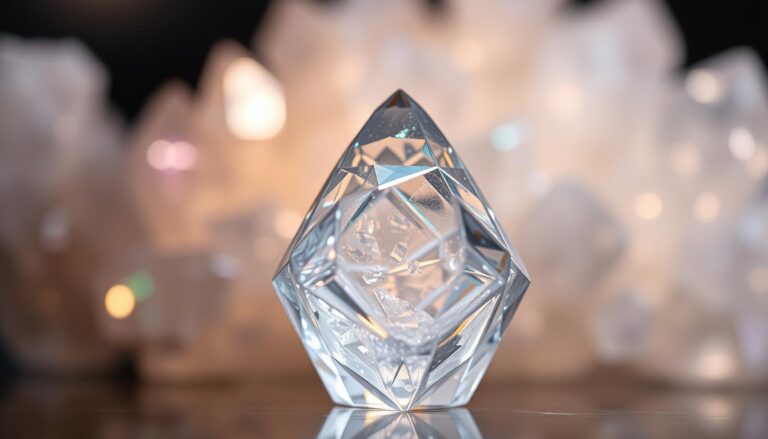
Transparency testing involves holding the crystal up to light. Transparent minerals allow clear vision through them, translucent ones permit light but blur images, and opaque crystals block light completely. Understanding these characteristics helps when deciding between clear vs cloudy crystals for collectors.
Take Photos for Later Reference
Photograph crystals from multiple angles including close-ups of crystal faces and the surrounding rock matrix. These images help with identification when you consult reference materials at home.
Crystal System Recognition
Understanding the seven crystal systems helps narrow down possibilities quickly. Cubic crystals like halite and pyrite form square or rectangular faces, while hexagonal crystals like quartz show six-sided symmetry.
Orthorhombic crystals like olivine appear rectangular but with unequal sides, and monoclinic crystals like gypsum show slight asymmetry. Practice recognizing these basic geometric patterns in the field.
Environmental Context Clues
The geological setting provides crucial identification hints that many beginners overlook. Certain minerals form in specific environments – garnets appear in metamorphic rocks, while zeolites favor volcanic cavities.
Research the local geology before your trip to understand what minerals commonly occur in your target area. This background knowledge eliminates impossible options and focuses your attention on likely candidates, similar to knowing where crystals are commonly found. The U.S. Geological Survey provides detailed geological maps and information for most regions.
Common Field Identification Mistakes
Weathered surfaces often disguise a crystal’s true appearance and properties. Fresh breaks or newly exposed faces provide more accurate testing surfaces than oxidized or altered exteriors.
Size expectations can mislead identification efforts since the same mineral forms crystals ranging from microscopic to massive depending on formation conditions. Focus on proportions and angles rather than absolute size.
Testing Sequence Strategy
Follow a systematic approach to avoid confusion and contamination between tests. Start with non-destructive observations like color, luster, and crystal habit before moving to scratch tests that alter the specimen.
Document your observations immediately since memory fades quickly when examining multiple specimens. A simple field notebook prevents mixing up results between different finds.
Frequently Asked Questions
What’s the most reliable way to identify crystals without advanced equipment?
Crystal habit combined with hardness testing provides the strongest identification foundation using only basic tools. These properties remain consistent across specimens and resist weathering effects.
How can I tell if a crystal is valuable enough to collect?
Look for well-formed crystal faces, unusual colors for the mineral type, and specimens showing multiple crystal habits together. Size alone doesn’t determine value – clarity and formation quality matter more.
Why do some crystals look different from reference photos?
Natural crystals rarely match idealized reference images due to weathering, surface coatings, and variable formation conditions. Focus on underlying geometric patterns rather than surface appearance.
Can I identify crystals accurately without chemical testing?
Physical properties like hardness, crystal habit, and streak provide enough information to identify most common minerals correctly. Chemical tests help with difficult cases but aren’t always necessary.
Final Thoughts
How To Identify Crystals In The Field becomes easier with each specimen you examine and test systematically. Start with common minerals in your local area to build confidence before tackling more challenging identifications.
Remember that field identification often provides preliminary results that you can confirm later using reference books and online mineral databases. The key lies in careful observation and systematic testing rather than rushing to conclusions. If you’re new to crystal collecting, consider learning how to tell natural crystals from man-made specimens to avoid common pitfalls in the field.