How To Display A Rock And Mineral Collection involves creating an organized showcase that protects your specimens while making them easy to admire and study. A well-planned display transforms scattered rocks into an educational and visually appealing collection that tells the story of Earth’s geological wonders.
Whether you’re working with a few special pieces or hundreds of specimens, the right display methods will help you appreciate the unique colors, textures, and formations you’ve gathered. Smart organization and proper lighting can turn even common rocks into conversation starters.
TL;DR
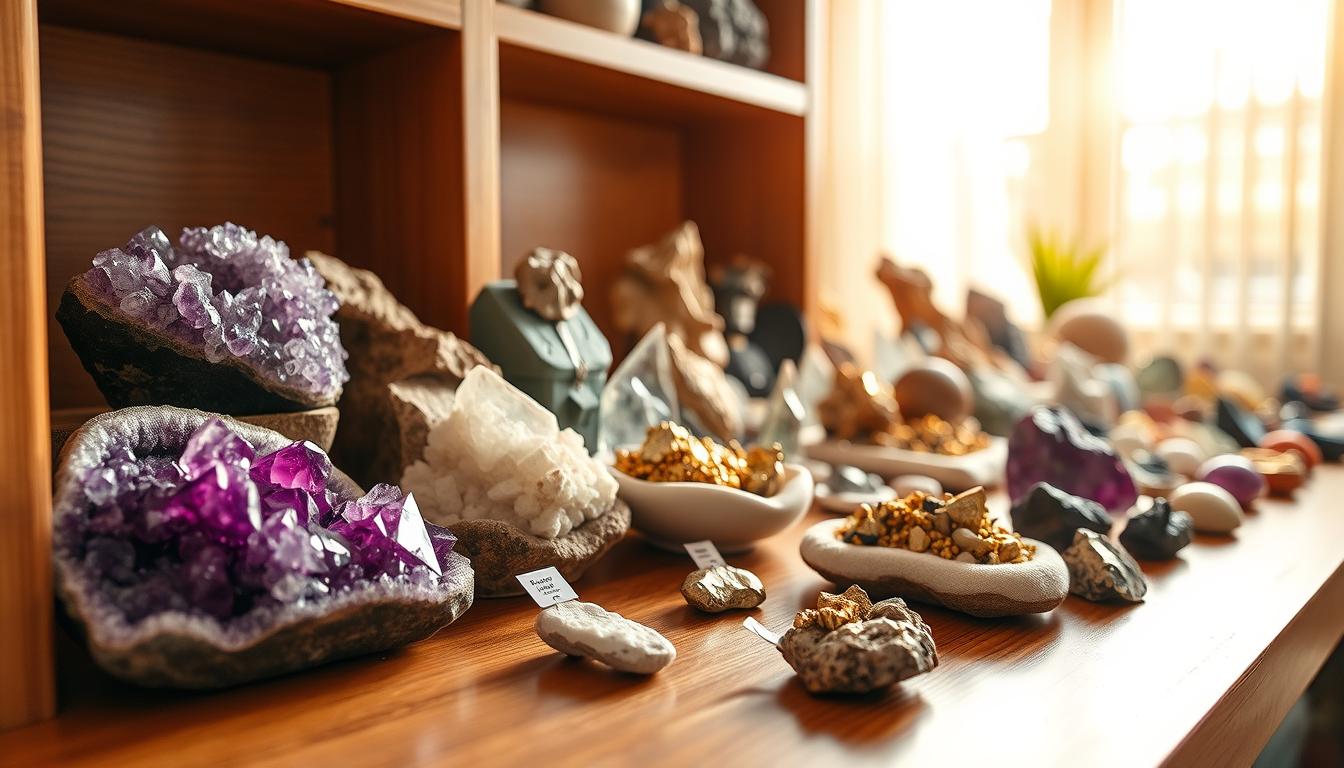
- Shadow boxes with felt backing provide dust protection and professional presentation for 12-20 specimens per display case.
- LED strip lighting placed at 45-degree angles eliminates harsh shadows and brings out natural crystal formations and mineral colors.
- Group specimens by geological formation, mineral type, or collection location using 2×3 inch labels with specimen names and discovery details.
- Acrylic risers in 3 different heights create visual depth and prevent smaller specimens from getting lost behind larger rocks.
How To Display A Rock And Mineral Collection
The foundation of any good rock display starts with choosing the right containers and surfaces. Shadow boxes, glass display cases, and floating shelves each offer different advantages depending on your space and collection size.
Shadow boxes work perfectly for themed collections like “rocks from our vacation” or “crystals and gems.” The enclosed design keeps dust away while the depth allows for layered arrangements that showcase different specimen sizes.
Essential Display Materials
Start with these basic supplies to create professional-looking displays that protect your specimens:
- Felt or velvet backing – provides contrast and prevents scratching
- Small acrylic stands – elevate specimens for better viewing angles
- LED strip lights – highlight colors and crystal faces without heat damage
- Clear acrylic boxes – protect delicate specimens from handling
- Adhesive foam pads – secure specimens without permanent mounting
Organizing Your Collection
Group your rocks and minerals using a system that makes sense for your collection and interests. The three most effective organizing methods work for both beginners and serious collectors.
Geological grouping arranges specimens by how they formed – igneous, sedimentary, and metamorphic rocks in separate sections. This educational approach helps viewers understand Earth’s rock cycle and formation processes.
Classification Systems That Work
- By mineral type. Group quartz varieties together, separate feldspars from micas, and create sections for oxides and sulfides.
- By collection location. Dedicate displays to specimens from specific trips, mines, or geographic regions.
- By color and visual appeal. Arrange specimens in rainbow order or group by complementary colors for maximum visual impact.
Size-based organization works well when you have many small specimens that might get lost in mixed displays. Create separate areas for thumbnail specimens, cabinet-sized pieces, and display specimens.
Lighting and Photography Setup
Proper lighting transforms ordinary rocks into stunning displays that highlight every crystal face and color variation. LED strips provide consistent, cool lighting that won’t fade minerals or create hot spots.
Position lights at 45-degree angles to your specimens to minimize harsh shadows while bringing out surface textures and internal structures. Avoid direct overhead lighting, which creates flat, uninteresting displays.
Photography Tips for Documentation
Document your collection with consistent photography that captures both beauty and scientific details:
- Use a lightbox – eliminates background distractions and provides even lighting
- Include scale references – place a coin or ruler next to specimens for size comparison
- Shoot multiple angles – capture crystal faces, inclusions, and identifying features
- Maintain consistent backgrounds – white or black backgrounds work best for comparison photos
Quick Specimen Identification
Create simple labels with specimen name, collection location, and date found. Keep detailed information in a separate notebook to avoid cluttering your displays.
Storage and Protection Methods
Protecting your collection from dust, moisture, and handling damage ensures your specimens stay beautiful for years. Different rocks require different storage approaches based on their hardness and stability.
Soft minerals like gypsum and calcite need individual boxes or foam-lined compartments to prevent scratching. Hard minerals like quartz can be stored together but still benefit from padded separation.
Climate Control Considerations
Some minerals are sensitive to humidity changes and temperature fluctuations. Pyrite can develop rust spots in humid conditions, while some copper minerals may tarnish when exposed to air.
Monitor your display area with a simple humidity gauge and keep levels between 45-55% relative humidity. Avoid displaying sensitive specimens in basements, bathrooms, or other areas with moisture problems.
Creating Educational Displays
Transform your rock collection into a learning tool by adding educational elements that explain geological processes and mineral properties. Simple explanations help visitors understand what makes each specimen special.
Create information cards that explain how different rocks formed, where they’re commonly found, and what makes them unique. Include practical uses for different minerals to connect your collection to everyday life.
Interactive Elements
Add hands-on elements that make your display more engaging:
- Hardness testing kit – demonstrate the Mohs scale with known minerals
- UV light and fluorescent specimens – show hidden mineral properties
- Magnifying glasses – help viewers see crystal structures and inclusions
- Reference books – provide additional information for interested visitors
Frequently Asked Questions
What’s the best way to clean rocks before displaying them?
Use warm soapy water and a soft brush for most specimens. For detailed cleaning methods and safety tips, check out our guide on how to clean rocks and crystals safely at home.
How do I prevent my minerals from fading in sunlight?
Keep displays away from direct sunlight and use UV-filtering glass or acrylic if needed. LED lighting provides illumination without damaging UV rays.
Should I glue specimens to display bases?
Avoid permanent mounting when possible. Use removable adhesive putty or foam pads that allow you to rearrange or relocate specimens without damage.
How many specimens can I fit in a standard shadow box?
A typical 11×14 inch shadow box displays 12-20 specimens comfortably, depending on their sizes and your arrangement style.
Final Thoughts
How To Display A Rock And Mineral Collection successfully combines protection, organization, and visual appeal to create exhibits that educate and inspire. The right display methods help others appreciate the natural beauty and scientific significance of your specimens.
Start with one well-organized display case and expand your system as your collection grows. Focus on quality presentation over quantity to create displays that truly showcase your geological treasures.