How To Cut And Polish Stones At Home opens up a fascinating world of gemstone crafting right in your own workspace. With basic tools and patience, you can transform rough stones into beautiful polished gems without expensive professional equipment.
Stone cutting and polishing requires careful preparation, the right techniques, and safety precautions. While it takes practice to master, beginners can start with softer stones and gradually work up to harder materials as their skills develop.
TL;DR
- Start with softer stones like serpentine or soapstone (hardness 2-4) before attempting quartz or jasper.
- A basic setup costs $200-400 including a trim saw, grinding wheels, and polishing compounds.
- Safety gear including eye protection, dust masks, and aprons prevents 90% of common injuries.
- Most stones require 4-6 progressive grits from 220 to 14000 for mirror-like polish.
How To Cut And Polish Stones At Home
Setting up a home lapidary workshop starts with understanding the basic process. Stone cutting involves several stages: rough shaping, progressive grinding, sanding, and final polishing.
The Mohs hardness scale determines which stones you can work with using home equipment. Softer stones (1-6 on the scale) cut easily with basic tools, while harder stones (7-10) require diamond-tipped equipment and more patience.
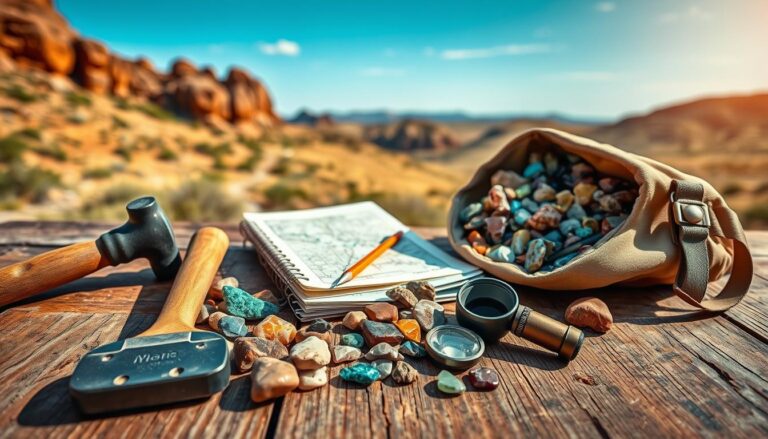
Essential Tools and Equipment
Your basic stone cutting setup needs a few key pieces of equipment. A trim saw handles the initial rough cutting, while grinding wheels shape and smooth the stone surface.
Cutting Tools
- Trim saw – 6-10 inch diamond blade saw for initial cuts and slabbing
- Grinding wheels – 100, 220, 400, and 600 grit wheels for shaping
- Sanding discs – 800, 1200, 3000, 8000, and 14000 grit progression
- Polishing compounds – Diamond paste, cerium oxide, or tin oxide
- Water system – Continuous water flow prevents overheating and dust
Safety Equipment
- Safety glasses – Impact-resistant eye protection is non-negotiable
- Dust mask or respirator – Protects lungs from silica dust particles
- Rubber apron – Keeps water and stone particles off clothing
- Work gloves – Grip-enhanced gloves for handling wet stones
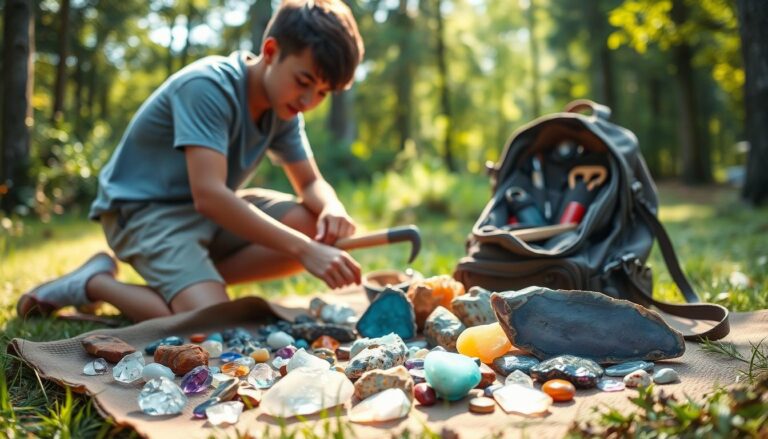
Selecting Stones for Beginners
Choose your first stones based on hardness and fracture patterns. Softer stones forgive mistakes and cut predictably, making them perfect for learning basic techniques, and you can learn more about selecting the right specimens in our guide to rock collecting for beginners.
Beginner-Friendly Stones
- Serpentine – Soft, colorful, and cuts like butter
- Soapstone – Extremely soft and forgiving for practice
- Fluorite – Beautiful colors but requires gentle handling
- Calcite – Inexpensive and available in many varieties
- Amazonite – Medium hardness with stunning blue-green colors
Avoid quartz varieties, jasper, and agate until you master basic techniques. These harder stones require more aggressive cutting and can chip easily with improper technique. If you’re interested in finding quartz crystals for future projects, check out our comprehensive guide on where to find quartz crystals in nature.
Step-by-Step Cutting Process
The cutting process follows a logical sequence from rough shaping to final polish. Each step builds on the previous one, so rushing through early stages creates problems later.
- Plan your cuts. Study the stone’s natural grain and plan cuts that follow or work against the grain structure.
- Make rough cuts. Use the trim saw to remove excess material and create basic shapes.
- Shape with coarse grits. 100-220 grit wheels remove saw marks and refine the shape.
- Progress through grits. Move through 400, 600, 800, and 1200 grit stages systematically.
- Pre-polish preparation. 3000 grit creates the smooth surface needed for polishing compounds.
- Final polish. Apply polishing compound with felt wheels or leather discs.
Water is Your Best Friend
Keep stones and grinding surfaces wet throughout the entire process. Dry cutting generates dangerous dust and can crack stones from heat buildup.
Grinding and Shaping Techniques
Proper grinding technique prevents flat spots and maintains smooth curves. Hold stones firmly but allow them to move naturally against the wheel’s rotation.
Work systematically across the stone’s surface, spending equal time on all areas. Check your progress frequently by stopping the wheel and examining the surface under good lighting.
Common Shaping Mistakes
- Pressing too hard – Let the wheel do the work to avoid gouges
- Staying in one spot – Creates flat areas and uneven surfaces
- Skipping grits – Each grit removes scratches from the previous stage
- Insufficient water – Leads to overheating and cracked stones
Polishing for Mirror Finish
The polishing stage transforms your shaped stone into a gleaming gem. This final step requires patience and the right combination of compounds and techniques.
Different stone types respond better to specific polishing compounds. Cerium oxide works well for most stones, while diamond paste excels on harder materials like quartz.
Polishing Compound Guide
- Cerium oxide – Universal polish for most stone types
- Tin oxide – Excellent for softer stones and creates brilliant shine
- Diamond paste – Best for hard stones above 7 on Mohs scale
- Chromium oxide – Good for serpentine and jade varieties
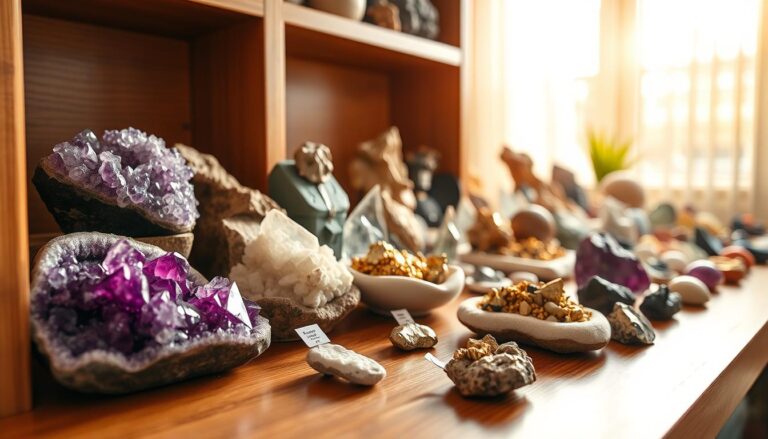
Workspace Setup and Maintenance
A well-organized workspace makes stone cutting safer and more enjoyable. Position equipment at comfortable working heights and ensure adequate lighting for detail work.
Regular maintenance keeps your tools cutting efficiently and extends their lifespan. Clean grinding wheels with a diamond dresser and replace worn sanding discs promptly. For more comprehensive guidance on maintaining your equipment, explore our article on essential rockhounding tools every beginner should own.
Workshop Organization Tips
- Good ventilation – Exhaust fans remove airborne particles
- Adequate drainage – Floor drains handle water overflow safely
- Tool storage – Dedicated spaces for each tool prevent damage
- Material storage – Organize stones by hardness and project status
Frequently Asked Questions
How long does it take to polish a stone at home?
A small cabochon takes 2-4 hours from rough cutting to final polish, depending on stone hardness and desired finish quality. Larger pieces or complex shapes require 6-8 hours of work.
What’s the most important safety consideration when cutting stones?
Eye protection ranks as the top safety priority since stone chips can fly at high speeds. Always wear impact-resistant safety glasses and ensure adequate ventilation to prevent silica dust inhalation.
Can I cut stones without expensive equipment?
Yes, you can start with hand tools like files and sandpaper for softer stones. A basic motorized setup costs $200-400 and dramatically speeds up the process while producing better results.
Which stones should beginners avoid?
Avoid quartz varieties, jasper, agate, and any stones above 6 on the Mohs hardness scale until you master basic techniques. These materials require specialized diamond tools and advanced skills.
Final Thoughts
How To Cut And Polish Stones At Home rewards patience and practice with beautiful handcrafted gems. Start with softer materials and basic equipment, then expand your capabilities as your skills develop.
The satisfaction of transforming a rough stone into a polished gem makes the investment in time and equipment worthwhile. Begin with simple cabochon shapes and gradually tackle more complex projects as your confidence grows. Once you’ve mastered the cutting process, learn proper techniques for cleaning rocks and crystals safely at home and discover how to display your finished creations to showcase your beautiful work.