How To Clean Minerals Without Damaging Them requires careful attention to each specimen’s unique properties and composition. Many collectors accidentally harm their prized pieces by using harsh chemicals or aggressive scrubbing techniques that can permanently alter the mineral’s surface or crystal structure.
The key to successful mineral cleaning lies in understanding what type of mineral you’re working with and choosing the gentlest method that will still achieve your desired results. Different minerals have varying hardness levels, chemical sensitivities, and structural vulnerabilities that dictate which cleaning approaches are safe to use.
TL;DR
- Test cleaning methods on a small, hidden area first to avoid visible damage to valuable specimens.
- Use a soft-bristled toothbrush with distilled water as your safest first cleaning option for most minerals.
- Avoid acids on carbonates like calcite and malachite – they will dissolve and create permanent damage.
- Air dry specimens completely for 24-48 hours before storing to prevent moisture damage and mineral degradation.
How To Clean Minerals Without Damaging Them
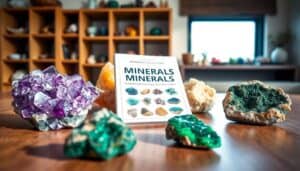
Start by identifying your mineral specimen before choosing any cleaning method. Different minerals react differently to water, acids, and mechanical cleaning, so knowing what you’re working with prevents costly mistakes.
Create a dedicated workspace with good lighting and ventilation. Lay out soft towels to cushion your specimens and gather your cleaning supplies in advance to avoid rushing through the process.
Essential Cleaning Supplies
- Distilled water – prevents mineral deposits from tap water
- Soft-bristled toothbrushes – various sizes for different specimen areas
- Cotton swabs – precise cleaning for delicate crystal faces
- Plastic containers – for soaking without metal contamination
- Magnifying glass – inspect progress without over-handling
- Soft microfiber cloths – gentle drying without scratching
Safe Cleaning Methods by Mineral Type
Water-safe minerals like quartz, amethyst, and most agates can handle gentle washing with distilled water and soft brushing. These hardy specimens typically have Mohs hardness ratings of 6 or higher and stable crystal structures.
Water-sensitive minerals require completely different approaches to avoid dissolution or structural damage. Always research your specific mineral before introducing any moisture.
Water-Safe Minerals
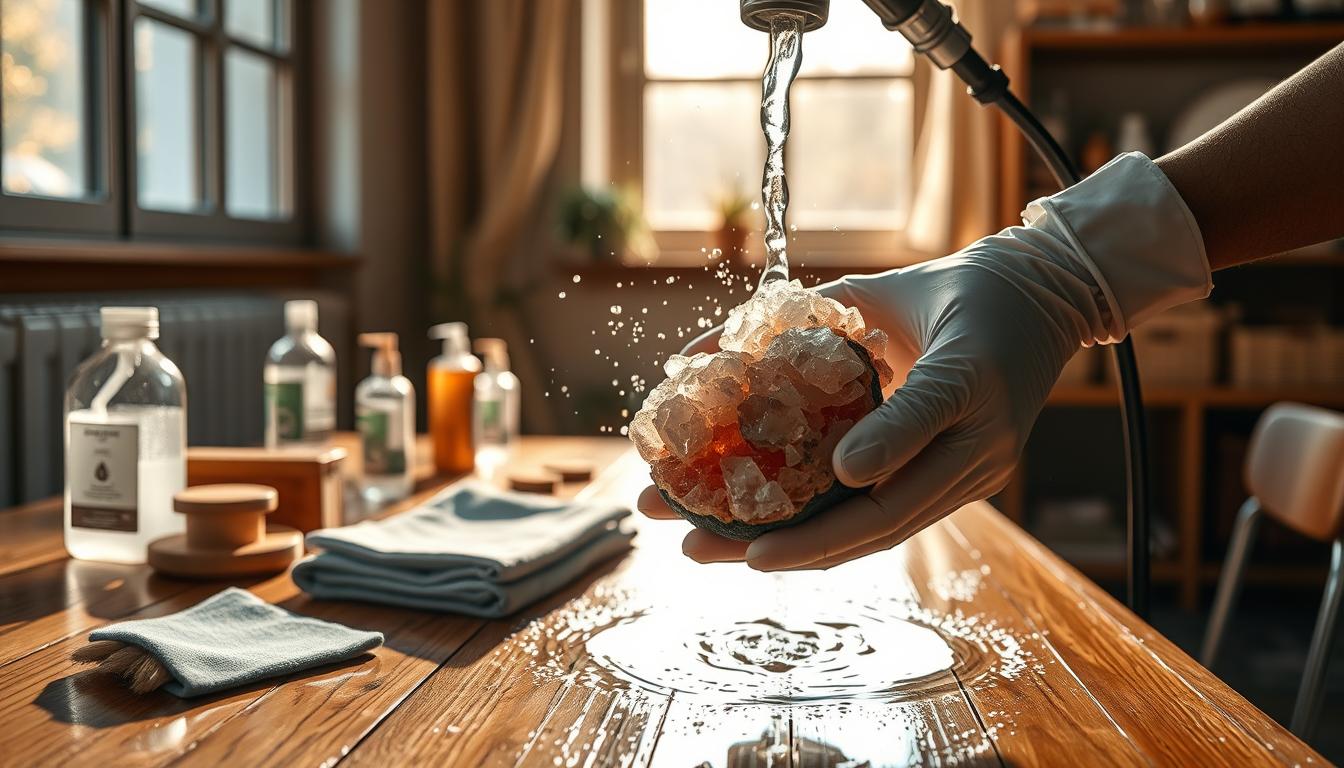
- Initial rinse. Use lukewarm distilled water to remove loose dirt and debris without thermal shock.
- Gentle brushing. Work with soft circular motions, following natural crystal faces and cleavage planes.
- Targeted cleaning. Use cotton swabs for tight spaces and delicate areas that brushes can’t reach safely.
- Final rinse. Remove all soap residue or loosened particles with clean distilled water.
Water-Sensitive Minerals
- Halite (salt) – dissolves instantly in water, use dry brushing only
- Gypsum – softens and may dissolve with prolonged water exposure
- Pyrite – can oxidize and create acid that damages the specimen
- Celestite – may develop white clouding from water contact
Mechanical Cleaning Techniques
Dry brushing works well for removing dust, dirt, and loose matrix material without introducing moisture risks. Use this method as your first approach for unknown specimens or confirmed water-sensitive minerals.
Start with the softest brush that will move the debris, then gradually increase firmness only if needed. Natural bristles often work better than synthetic ones for delicate crystal surfaces.
Test First, Clean Second
Always test your chosen cleaning method on the least visible area of your specimen first. This simple step can save you from permanent damage to valuable or irreplaceable minerals.
Compressed Air Method
Compressed air removes loose particles from crystal cavities and hard-to-reach areas without physical contact. Hold the air source at least 6 inches away to avoid thermal shock from rapid temperature changes.
Work systematically across the specimen, paying special attention to natural pockets where debris often accumulates. This method works particularly well for delicate crystal clusters and hollow geodes.
Chemical Cleaning Considerations
Chemical cleaning should only be attempted by experienced collectors who understand mineral chemistry and have proper safety equipment. Many seemingly harmless household cleaners can cause irreversible damage to mineral specimens.
Carbonate minerals like calcite, malachite, and azurite will bubble and dissolve when exposed to even mild acids like vinegar. Once this reaction begins, you cannot reverse the damage.
Safe Chemical Options
- Mild dish soap – safe for most water-compatible minerals
- Distilled white vinegar – only for silicate minerals, never carbonates
- Oxalic acid – removes iron stains but requires expert knowledge
- Ultrasonic cleaners – effective but can shatter brittle specimens
Drying and Storage After Cleaning
Proper drying prevents mineral degradation and secondary damage from trapped moisture. Place cleaned specimens on absorbent towels in a well-ventilated area away from direct sunlight or heat sources.
Allow 24-48 hours for complete drying, especially for porous specimens or those with internal cavities. Rushing this step can lead to water spots, mineral precipitation, or structural weakening over time.
Long-term Preservation
Store cleaned minerals in stable environments with consistent temperature and humidity levels. Rapid environmental changes can cause thermal expansion and contraction that creates internal stress fractures.
Use acid-free storage materials and avoid direct contact between different mineral types to prevent chemical interactions or physical damage from hardness differences.
Frequently Asked Questions
Can I use tap water to clean my minerals?
Avoid tap water because it contains dissolved minerals that can leave deposits on your specimens. Always use distilled water for the cleanest results without residue.
How do I know if my mineral is safe to clean with water?
Research your specific mineral’s properties before cleaning. Water-safe minerals typically have Mohs hardness of 6+ and stable crystal structures, while salt-based and some sulfate minerals dissolve easily.
What should I do if I accidentally damage a mineral while cleaning?
Stop cleaning immediately and document the damage with photos. Some minor scratches may polish out, but dissolved or chemically altered minerals usually cannot be repaired.
How often should I clean my mineral collection?
Clean minerals only when necessary to remove accumulated dust or dirt. Overcleaning can cause cumulative damage, so handle specimens as little as possible while maintaining their appearance.
Final Thoughts
How To Clean Minerals Without Damaging Them becomes straightforward once you understand each specimen’s specific properties and vulnerabilities. Taking time to research your minerals before cleaning prevents the heartbreak of permanent damage to irreplaceable pieces.
Start with the gentlest methods and work gradually toward stronger techniques only when absolutely necessary. Your mineral collection will retain its natural beauty and scientific value when you prioritize preservation over aggressive cleaning, and proper storage and display techniques will help maintain that pristine condition for years to come.